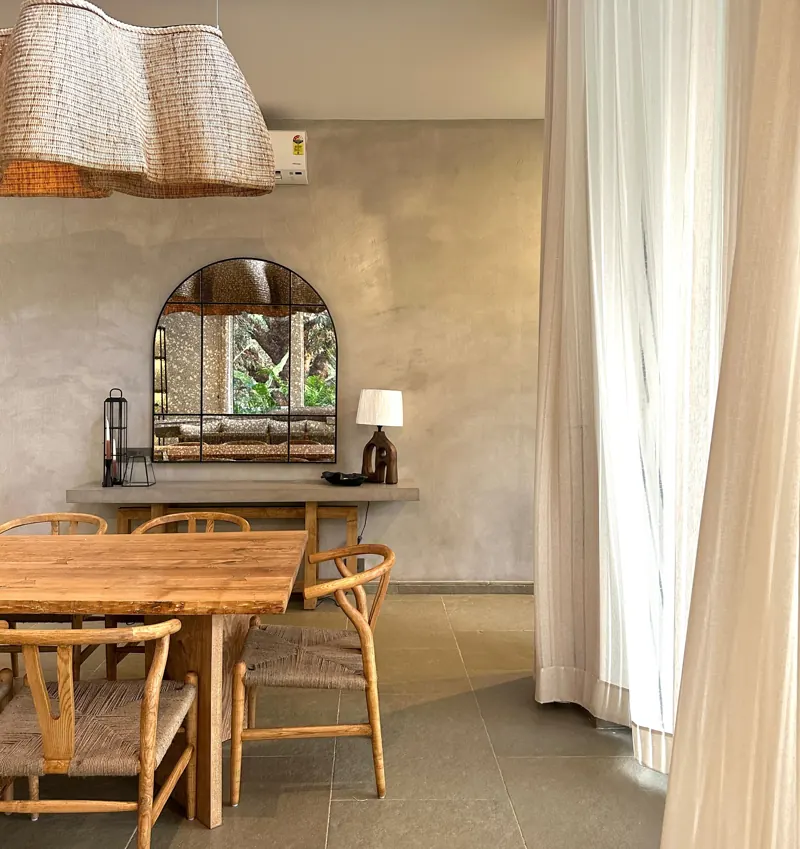
Limewash is applied in thin coats with a wide brush, in loose crosshatch strokes, onto a clean, porous and slightly damp wall. Over existing emulsion it needs a mineral primer first. Most walls need at least two coats, and the colour should only be judged once the final coat is fully dry.
The method matters more with limewash than with ordinary paint, because the finish comes from the way it is brushed and the way it dries. Below is how a good job is done, what to check, and the mistakes that cause patchy walls.
What Do You Need Before You Start?
A sound wall, the right primer and the right brush. Limewash is very liquid, so protect floors and furniture well. Typical kit:
- A wide, soft block brush (a limewash or masonry brush), not a roller, for the visible coats.
- A spray bottle or damp sponge to dampen the wall.
- Mineral primer if the wall is painted, puttied or very absorbent.
- Gloves and eye protection. Lime is alkaline and dries out skin.
- Buckets for stirring. Limewash settles, so stir it often.
Step 1: Check and Prepare the Wall
Start by confirming the wall is dry, sound and free of damp. Look for flaking paint, salt bloom, hairline cracks and damp patches. Fix leaks and let wet plaster dry fully. Fill cracks with a compatible filler and remove loose material. New cement plaster should cure before finishing. Clean off dust and grease, because limewash will not bond to either. Our article on substrate preparation explains why preparation decides the result for every seamless finish.
Can You Apply Limewash Over Painted Walls?
Yes, with a mineral primer. Most Indian interiors are acrylic emulsion over wall putty, a closed surface that limewash cannot soak into. The usual sequence is: clean the wall, sand any sheen, remove loose paint, then apply a mineral primer that gives the surface a porous, slightly gritty key. Glossy or washable paints need sanding first. Bare cement plaster, brick, stone and concrete usually take limewash directly after dampening. Always test a small area and check adhesion before doing the whole wall.
On textured walls, limewash will follow the existing pattern. If you want the soft limewash look rather than limewash over a pattern, skim the wall smooth first.
Step 2: Dampen the Wall
Mist the surface lightly just before each coat. A damp wall slows drying, which lets the lime cure properly and avoids hard lap marks. This matters most in hot, dry weather, such as North Indian summers. The wall should be damp, not wet or running.
Step 3: Apply the First Coat
Brush on a thin coat in loose, overlapping crosshatch or "X" strokes, working in sections and keeping a wet edge. Do not try to cover in one coat. The first coat often looks streaky and translucent; that is normal. Work from top to bottom and finish a whole wall in one session, because stopping halfway leaves a visible line.
Step 4: Let It Dry Between Coats
Wait until the coat is touch-dry and evenly pale before the next coat. In warm, dry conditions that can be a few hours; in humid monsoon weather it takes longer. Follow the drying time given by the maker of the product you use. Dampen the wall again before the next coat.
Step 5: Apply the Second and Final Coats
Two coats are the minimum for most walls; a third evens out colour and deepens movement. Vary stroke direction slightly between coats. The final look depends on how loose or tight the strokes are, so agree on a sample panel before the full job.
Step 6: Judge the Colour Only When Dry
Limewash dries several shades lighter than it looks wet. Wait until the coat is fully dry before judging the colour. Do not touch up spots while the wall is still drying, or you will create darker patches.
Should Limewash Be Sealed?
Usually not indoors; sometimes outdoors. Sealing with a non-breathable coat cancels the main benefit. In high-contact or exterior areas, some makers offer a breathable mineral sealer. Read is limewash waterproof before deciding. Your applicator will advise for your wall.
Common Mistakes That Cause Patchy Limewash
- Applying over unprimed emulsion: the limewash rubs off.
- Rolling instead of brushing: flat, lifeless finish.
- Working on a hot, dry wall without dampening: lap marks and dusting.
- Stopping mid-wall: a visible line.
- Touching up while wet: dark spots.
- Too thick a coat: cracking and flaking.
DIY or Professional?
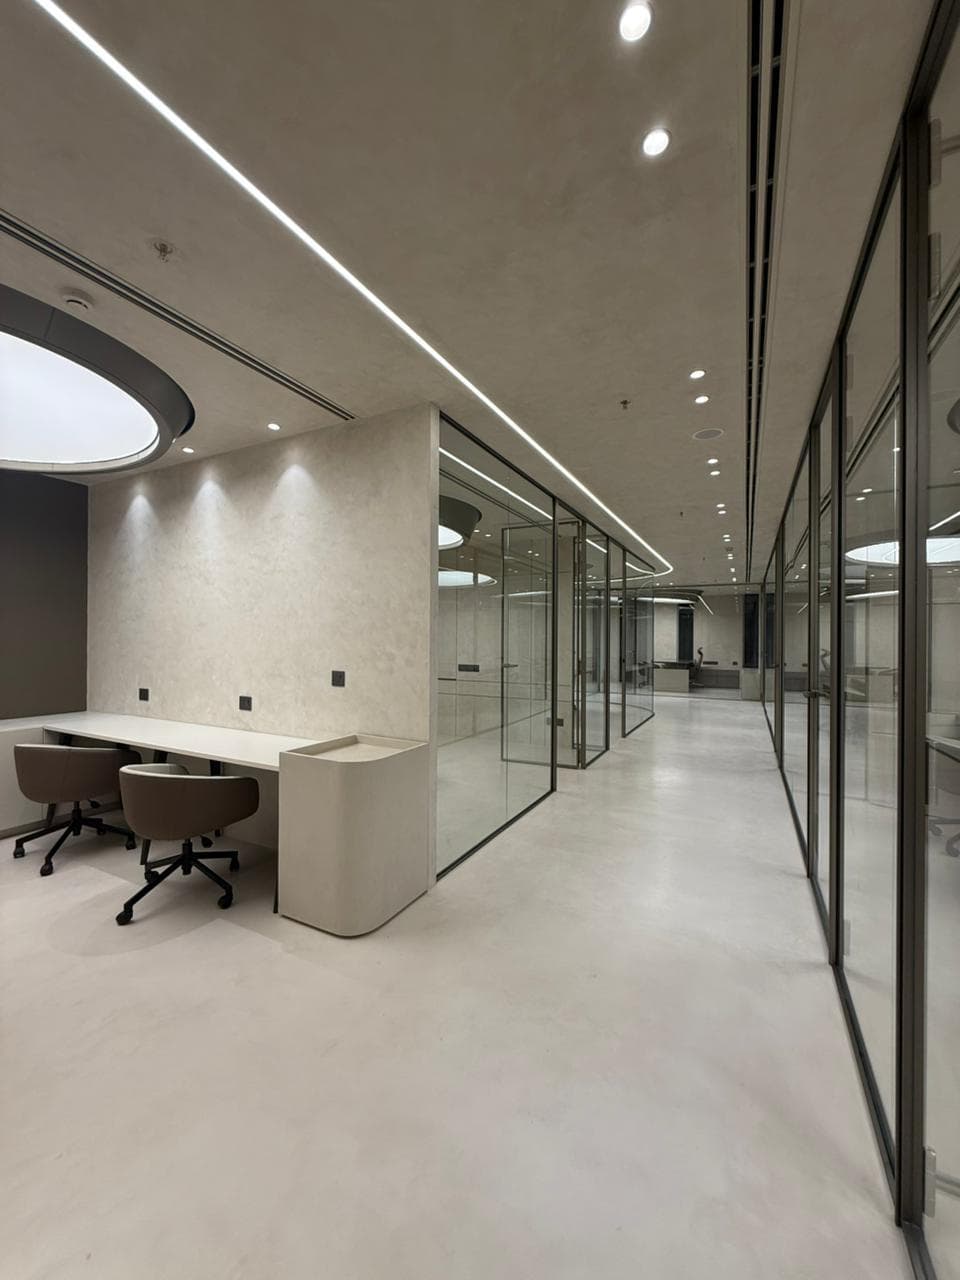
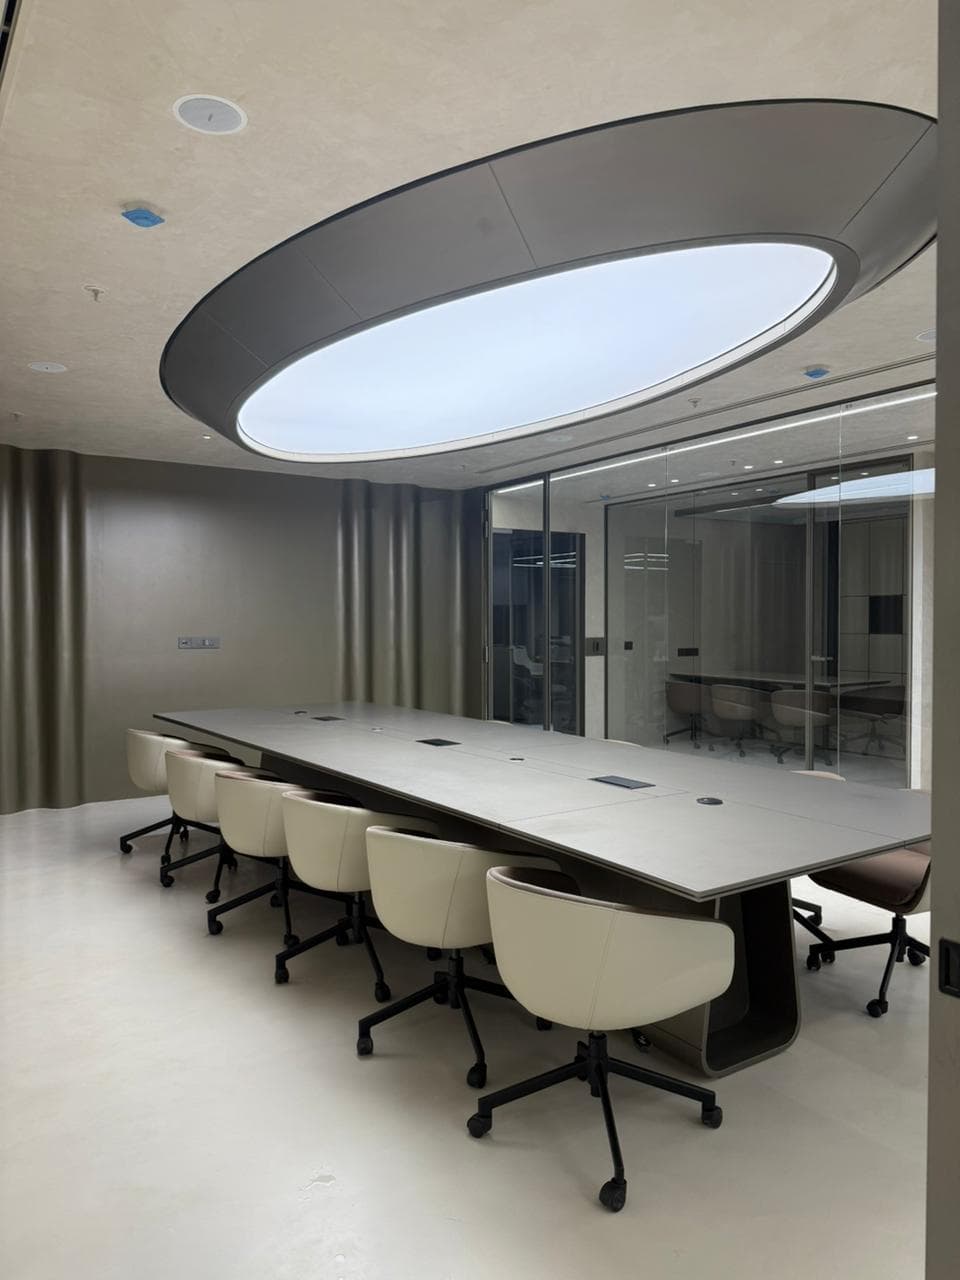
A small, flat feature wall on bare plaster is a reasonable DIY project if you test first. Large walls, ceilings, painted walls that need priming and exteriors are better left to an experienced applicator, because the brushwork shows. At our Faridabad Office project the ceiling was limewashed along with the walls, the kind of surface where even brushwork is hard to achieve without practice.
Ready to Limewash Your Walls?
Limewash rewards good preparation and patient brushwork with a finish no roller paint can match. If you are still deciding, compare limewash vs regular paint or browse limewash wall design ideas. If you would like it done for you, contact us for a site check and a sample panel on your wall.
Frequently Asked Questions About Applying Limewash
How many coats of limewash do I need?
At least two thin coats for most walls. A third coat evens out the colour and adds depth.
How long should I wait between coats of limewash?
Wait until the coat is touch-dry and evenly pale. It is quicker in warm, dry weather and slower in humid weather, so follow the product's instructions.
Can I apply limewash with a roller?
A roller can help spread the first coat on large areas, but the visible coats should be brushed to get the soft movement limewash is known for.
Can limewash be applied over emulsion paint?
Yes, after cleaning, sanding any sheen and applying a mineral primer. Test a small area first.
Why does my limewash look patchy?
Usually because the wall was not primed or dampened, coats were too thick, or spots were touched up before the wall had dried.
Why does limewash look darker when wet?
Lime dries much lighter than it looks wet. Judge the colour only once the final coat has fully dried.
Do I need to seal limewash?
Usually not indoors, because sealing reduces breathability. Some exterior or high-contact walls use a breathable mineral sealer.
Can I limewash a textured wall?
Yes, but the existing texture will show through. Skim the wall smooth first if you want the classic limewash look.